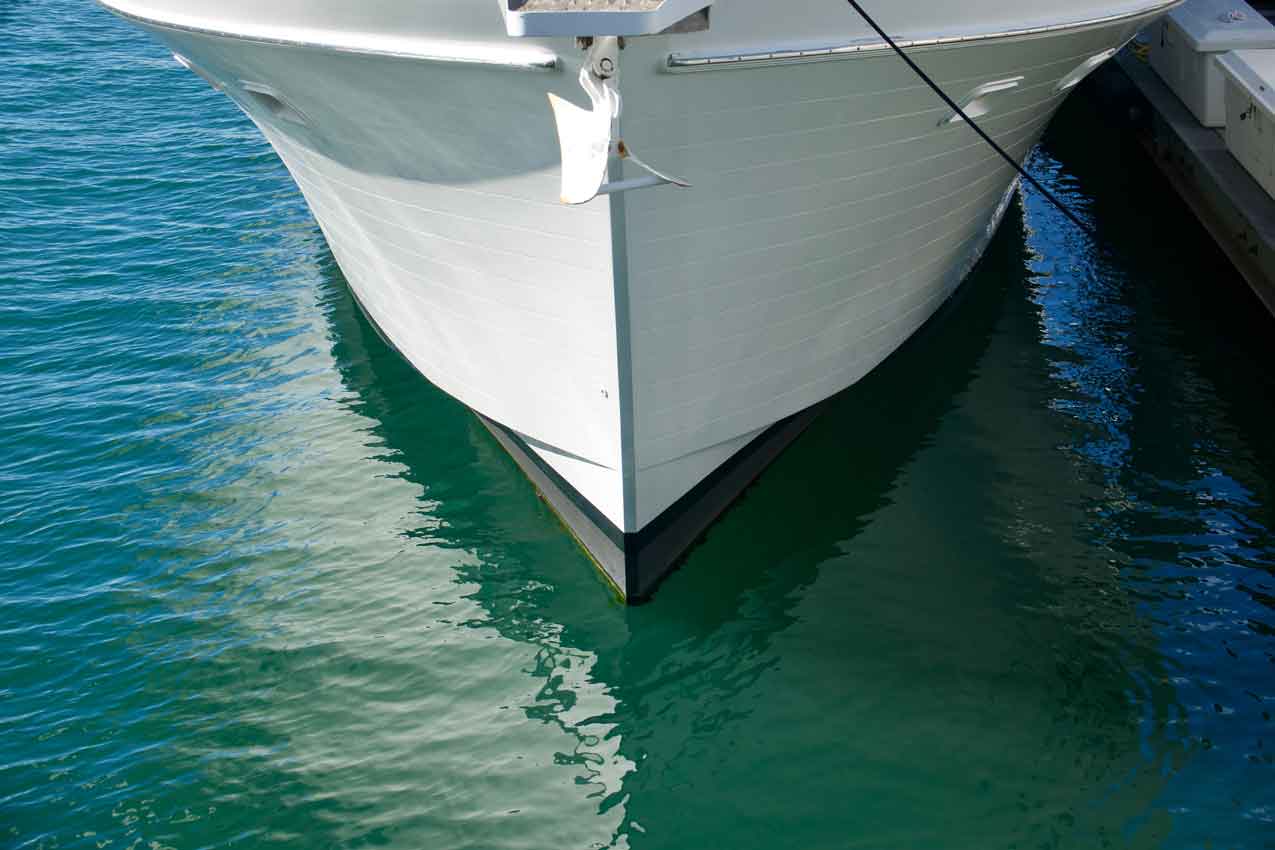
Fiberglass boats are built to shrug off bumps, waves, and weather—but knocks from a hidden rock or the marina wall can still leave cracks, chips, or spider lines. Replacing a hull panel costs serious loonies and weeks off the water; learning how to repair a fiberglass boat yourself costs an afternoon, some basic supplies, and the confidence to keep cruising. This friendly, middle-school-readable guide walks you through each stage, from safety gear to that final, showroom-worthy polish—plus a few pro secrets tailored for Ontario’s cooler climate.
Why Learn How to Repair a Fiberglass Boat?
- Save money on minor fixes—put those dollars toward fuel or fishing tackle.
- Keep small cracks from turning into structural headaches.
- Boost resale value with a flawless hull.
- Spend more time on the Bay of Quinte and less time in the shop.
How to Repair a Fiberglass Boat in 7 Simple Steps

1. Inspect & Outline
Haul the boat, dry the hull, and circle every crack or chip with a marker so nothing gets missed. Lightly tap the area; a dull “thud” means deeper damage.
2. Clean & Dry
Wash with mild soap, rinse, then wipe the spot with acetone. A squeaky-clean, moisture-free surface is key for a solid bond.
3. Bevel & Sand (12:1 Rule)
Sand a gentle slope around the damage—about twelve times the hull’s thickness. This feathered edge lets the new patch blend in and stay strong.
4. Cut Nested Fiberglass Patches
Cut three to five cloth pieces, each slightly smaller than the last. Stack them nearby so you can work quickly once the resin is mixed.
5. Mix Resin & Apply Layers
Stir resin and hardener in the exact ratio. Brush resin on the beveled area, press on the largest patch, wet it out, then repeat until the smallest patch is on top, smoothing each layer to remove air bubbles.
6. Cure, Fair & Smooth
Let the patch harden (about 30–60 min at 20 °C). Sand flush with 120- then 220-grit paper. Use a thin touch of fairing compound to fill pinholes, and finish with 320-grit for a slick surface.
7. Seal, Paint & Polish
Brush or spray two coats of matching gel coat, sanding lightly between them. If the hull is painted, add primer and topside paint, then buff to a showroom shine.
Troubleshooting Common Fiberglass Repair Mistakes
H3: Symptom |
H3: Likely Cause |
H3: Quick Fix |
| Sticky or soft patch after 24 h | Wrong resin-to-hardener ratio | Sand off gooey layer, redo mix with accurate ratio |
| White air bubbles in cured patch | Trapped air during lay-up | Drill tiny vent holes, inject warm resin with syringe, sand smooth |
| Patch cracks after first outing | Bevel too short / too few layers | Remove patch, bevel wider, add extra cloth layers |
| Patch looks lumpy | Excess resin pooling | Sand down highs, apply fairing compound, sand again |
Eco-Friendly Resin and Waste Disposal
- Choose low-VOC, bio-based epoxy when possible—same strength, fewer fumes.
- Collect resin drips on scrap cardboard; once hardened, they can be tossed as solid waste.
- Never pour leftover acetone or liquid resin down the drain; bring it to your local hazardous-waste depot.
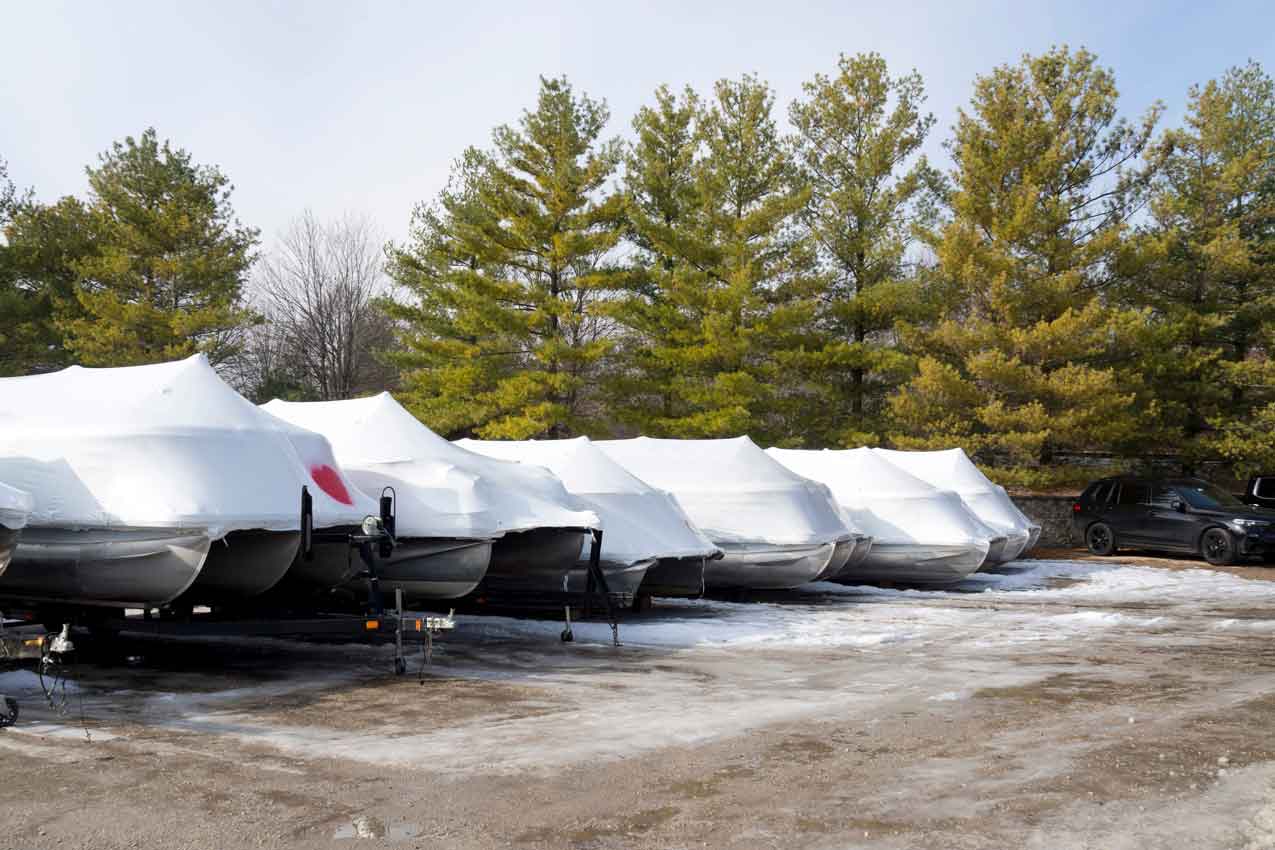
Prevent-It-Before-It-Breaks Care Tips
- Rinse salt and road grime after every outing.
- Wax the hull twice a season to block UV rays.
- Store with a ventilated cover to reduce moisture blisters.
- Check high-stress zones—keel, chines, trailer bunks—each spring for hairline cracks.
When to Call the Pros

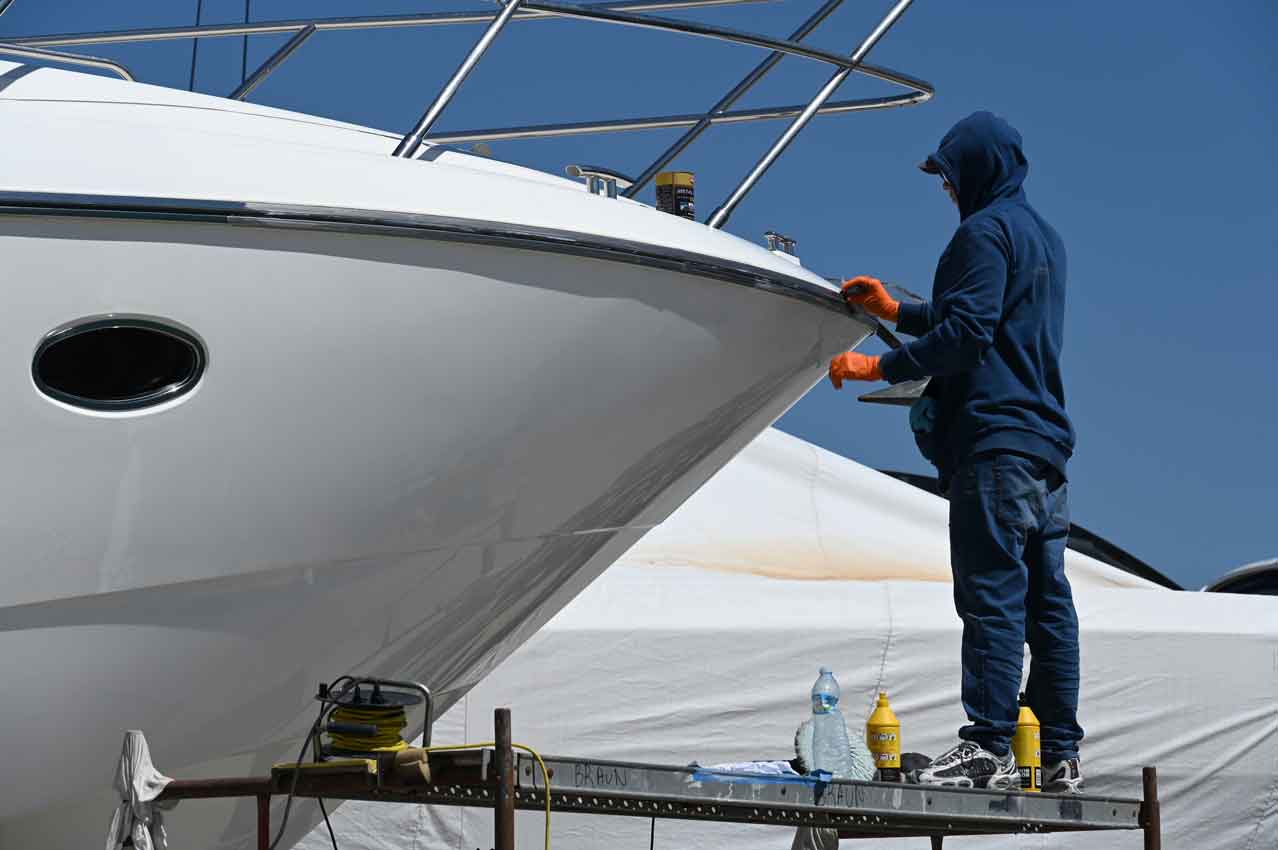
If the damaged spot is bigger than a dinner plate, if cracks reach the inner laminate or bulkhead, or if the harm lies below the waterline, it’s time to let the experts step in. Perfectly matching gelcoat colour can also be tough without pro equipment. Our certified marine technicians handle everything from structural rebuilds and precise colour-matching to haul-outs and cold-weather curing, so you can return to the water with complete confidence.
Conclusion
By following these ten clear steps—and remembering the 12 : 1 bevel rule, accurate resin ratios, and a touch of patience—you now know how to repair a fiberglass boat the safe, budget-friendly way. Keep this guide handy, grab your repair kit at Crate Marine Belleville, and spend every sunny weekend where you belong: out on the water, worry-free and proud of the hull you fixed with your own two hands.


